About
Shutter is a feature-rich screenshot program for Linux based operating systems such as Ubuntu. You can take a screenshot of a specific area, window, your whole screen, or even of a website – apply different effects to it, draw on it to highlight points, and then upload to an image hosting site, all within one window. Shutter is free, open-source, and licensed under GPL v3.
Capture
Shutter allows you to capture nearly anything on your screen without loosing control over your screenshots (tabbed interface). Here is an overview of what you can do with Shutter:
- Capture a Specific Area
This allows you to select an arbitrary region of your screen and capture only those parts you really need. Shutter offers two different tools to do so in order to meet any user’s taste. - Capture your Desktop
Shutter does not only capture all the contents of your desktop (or workspace) – it also supports Multi-monitor settings, e.g. capture the active monitor - Capture a Window
Simply use your mouse to select the window you want to capture. Shutter will highlight the currently select window in an attractive and useful way. It is even possible to simply select a window from a list and capture it right a way. - Capture a Menu or Tooltip
Capturing menus or tooltips is very easy with Shutter. You select one of the options and a (user-defined) countdown starts. During this time you can open the desired menu or let a specific tooltip come up. Shutter will recognize and capture it. - Capture a Website
Shutter uses gnome-web-photo to capture a website without opening a browser window
PPA-Installation Guide
This is a step-by-step procedure for installing Shutter on Ubuntu, aimed at beginners or users who rarely worked with PPAs (Personal Package Archives) before.
Please note: This guide applies only to Ubuntu.
Ubuntu 9.10 (Karmic) and later
- You can add a PPA to your system with a single line in your terminal. Open a terminal and enter:
sudo add-apt-repository ppa:shutter/ppa
- Now, as a one-off, you should tell your system to pull down the latest list of software from each archive it knows about, including the PPA you just added:
sudo apt-get update
- Install Shutter
sudo apt-get install shutter
On older (pre 9.10) Ubuntu systems
- Add Shutter PPA to your ‘Software Sources’
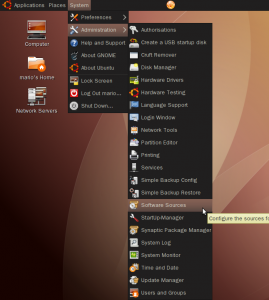
Navigate to System ▸ Administration ▸ Software Sources - Visit our PPA (hosted at Launchpad.net – https://launchpad.net/~shutter/+archive/ppa)
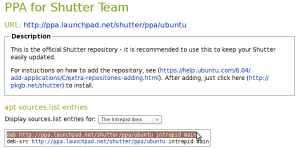
Select your Ubuntu release and copy the first line into your clipboard (Ctrl+C) as shown below. - Each PPA has its own unique key that is used to sign the packages in that archive. To add the PPA’s key to your own system open a terminal and enter:
wget -q http://shutter-project.org/shutter-ppa.key -O- | sudo apt-key add -
Hint: Don’t forget the trailing dash. You’ll see a confirming ‘OK’ when the command was successfull.(Until you add the PPA’s key to your own system, you’ll see warnings that you’re downloading from an untrusted source) - Return to the ‘Software Sources’ window, navigate to the Third Party Software tab and hit the Addbutton.
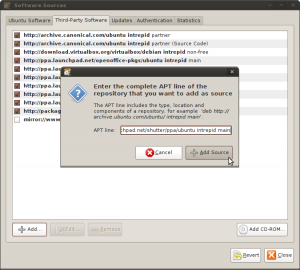
- Paste your clipboard content into the entry box of the following popup to add our repository to the list of software sources. Then click on Add Source.
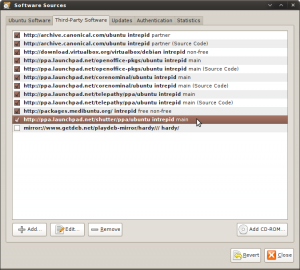
- If everything worked as expected our repository should be activated now. You can now close the window.
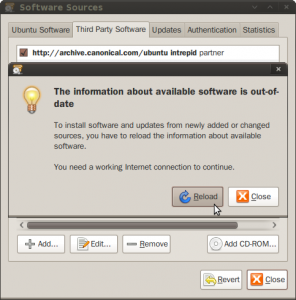
- When prompted to ‘Reload the information about available software’ press Reload and wait for the operation to complete.
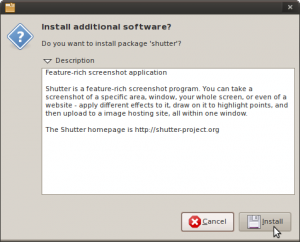
- Now, just click here to install Shutter (using AptURL)or open a terminal and enter:
sudo apt-get install shutter
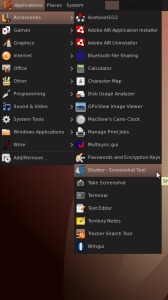
- After the package manager has done its work you will be able to start Shutter for the first time using the menu entry.


No comments:
Post a Comment